AR-15 lower build
I got a lower and built it up, this is my first AR build, and so far it is pretty easy. I am going to be buying an assembled upper, so the rest should consist of unpacking that, snapping the pins in place, test, and shoot. The lower is from LCW, actually not from my recent trip, I ordered it a while ago.
Good instructions can be found at ar15.com
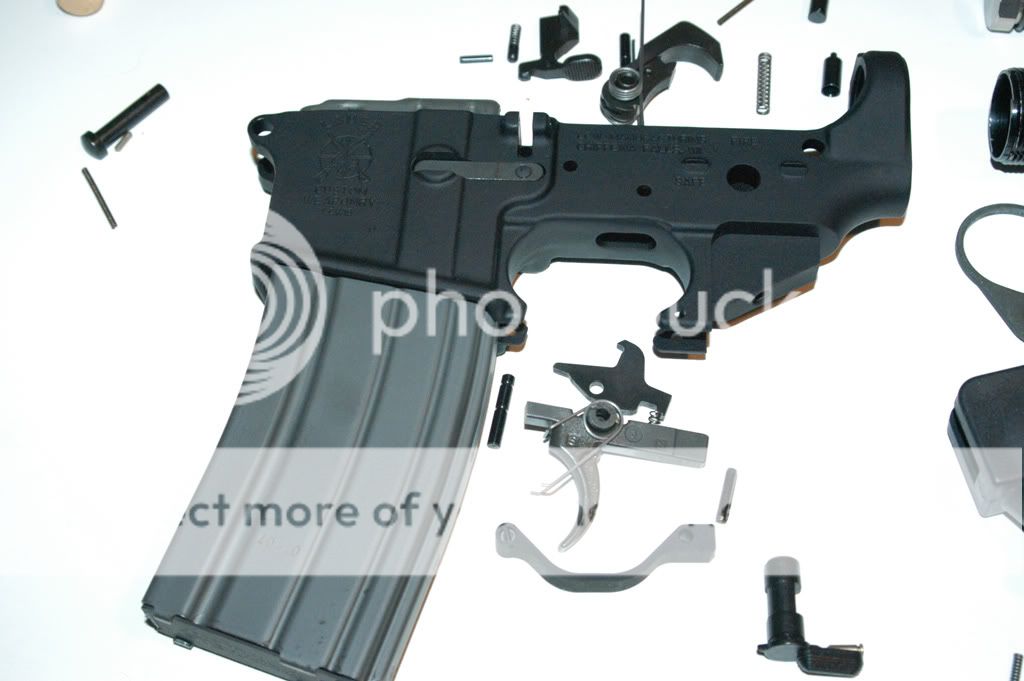
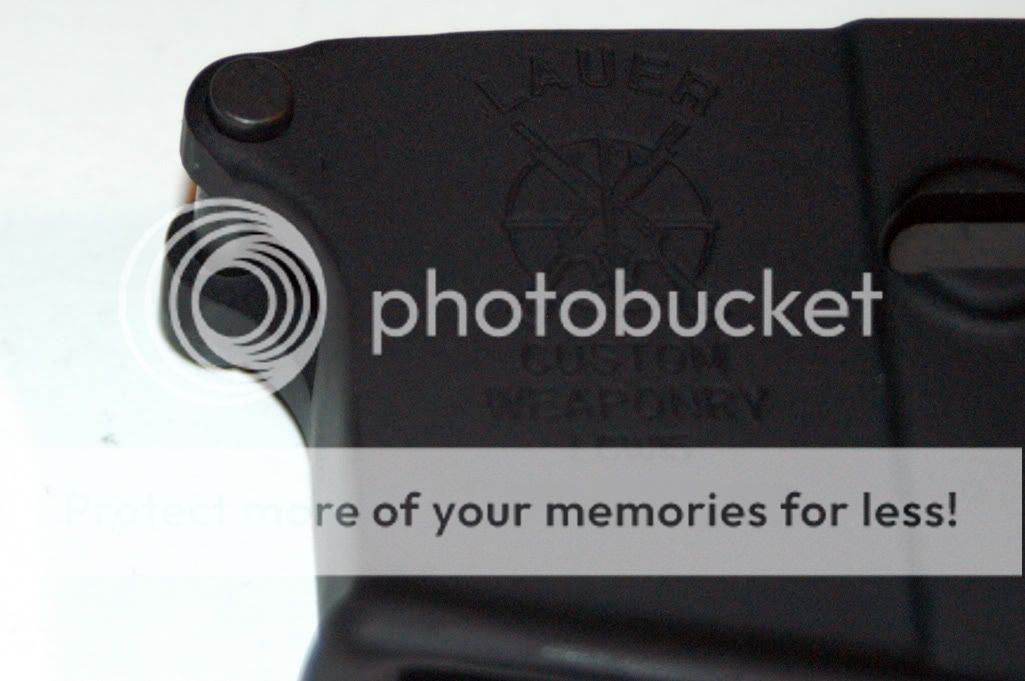
The stripped lower receiver.
The lower receiver, lower parts kit (with a Rock River Arms winter trigger guard,) and stock. I have been planning to do and M4 style, but may decide to switch to an A2 stock, and 20 inch barrel.
The tools I used. The screwdriver is for the pistol grip, the hammer and punches are for the roll pins holding the trigger guard and bolt catch, as well as the trigger and hammer pivot pins, the knife is for the detent holding the pivot pin, and the funky blue tool at the bottom is a Park Tools pin wrench, from my bicycle mechanic days, that I used to tighten on the stock, I had it and it worked, but I would recommend one of the tools made for it.
Mag catch installed, and tested with a magazine
Trigger guard installed. You need to be careful pounding in the roll pin, as you can break off the “ears.” Get the spring loaded pin in, the rear of the trigger guard in line, and support the bottom while you pound it in. When you are pounding, the bottom “ear” is supported from below, and the top “ear” is supported by the trigger guard.
A little trickier to install was the bolt release, the best way I found was to stand the receiver up on the front, and use a pin punch and the small hammer to drive it in from the top, driving it just past the first side, then position the release, and drive it the rest of the way down.
Another view of the bolt catch
The pivot pin is held in place by a spring and detent, I used a knife blade to hold it down while I put the pin in, any similar thin tool should work. I saw that there is a tool for installing the pin, but this worked, too.
Trigger and hammer installed. They are both on pivot pins, which needed to be driven through with a punch and hammer. The trigger and disconnector go in first, then the hammer.
The ends of the hammer springs go over the top of the trigger assembly, there are grooves on the side for them. It takes a little bit of horsing around to get it in place, but not bad.
Here, the pistol safety selector and the pistol grip are on. The spring and detent for the safety selector run through a hole in the receiver and pistol grip, so the grip needs to go on at the same time as the selector. The hammer needs to be cocked before you install the selector, or it won’t fit. Also note the takedown pin, with the detent spring sticking out the back. The plate on the stock keeps it in place.
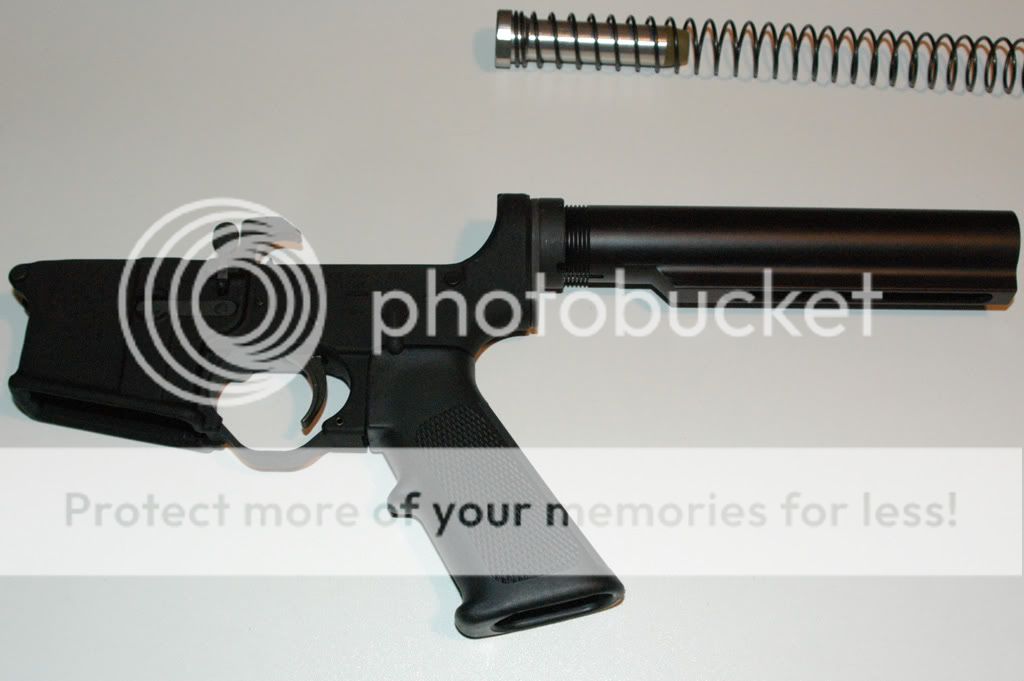
Stock/buffer tube in place, with the plate and castle nut that holds it in place, and locks the tube. The castle nut should be staked, but I am not sure if that is the final stock for this gun, so I didn’t stake it.
Completed with the stock body on the tube. Now to get the money together for an upper…
I am considering building more, if I do, I will try to get some more detailed pictures of the actual assembly process.
For more information on working on the AR-15, check out Gunsmithing – the AR-15 or some of the other available AR-15 books, or click here for AR-15/M16 parts & accessories from Brownells.com


FTW! I want.
Very nice! Interestingly, I have the same set of gunshow punches.
You got off lucky not marring the receiver. The punches in question work well but will bend with use. When I did my second lower, I bought a set of roll pin punches. These can be had for $15 for a pair. Expensive but they will self-center on a hollow roll pin and not distort it or shift as you hammer it home. Best $15 I spent and made the process go a lot quicker. If you plan to build more lowers, they are a worthwhile investment.
Great work!
Pingback:SayUncle » How to
Nice … I recently picked up a CMMG M4 and like the AR platform
Yeah, I was a little worried about marring it. One of the things I did was use a larger punch than needed on the bolt catch until I got to the end, reducing the chances of bending, and making any slight slips non-catastrophic. I may have to look into the roll pin punches, as I am planning on doing more receivers.
Pingback:Wow… « Firearms & Freedom
Pingback:More Gun Building « Firearms & Freedom
Pingback:Coming Attractions « Firearms & Freedom